
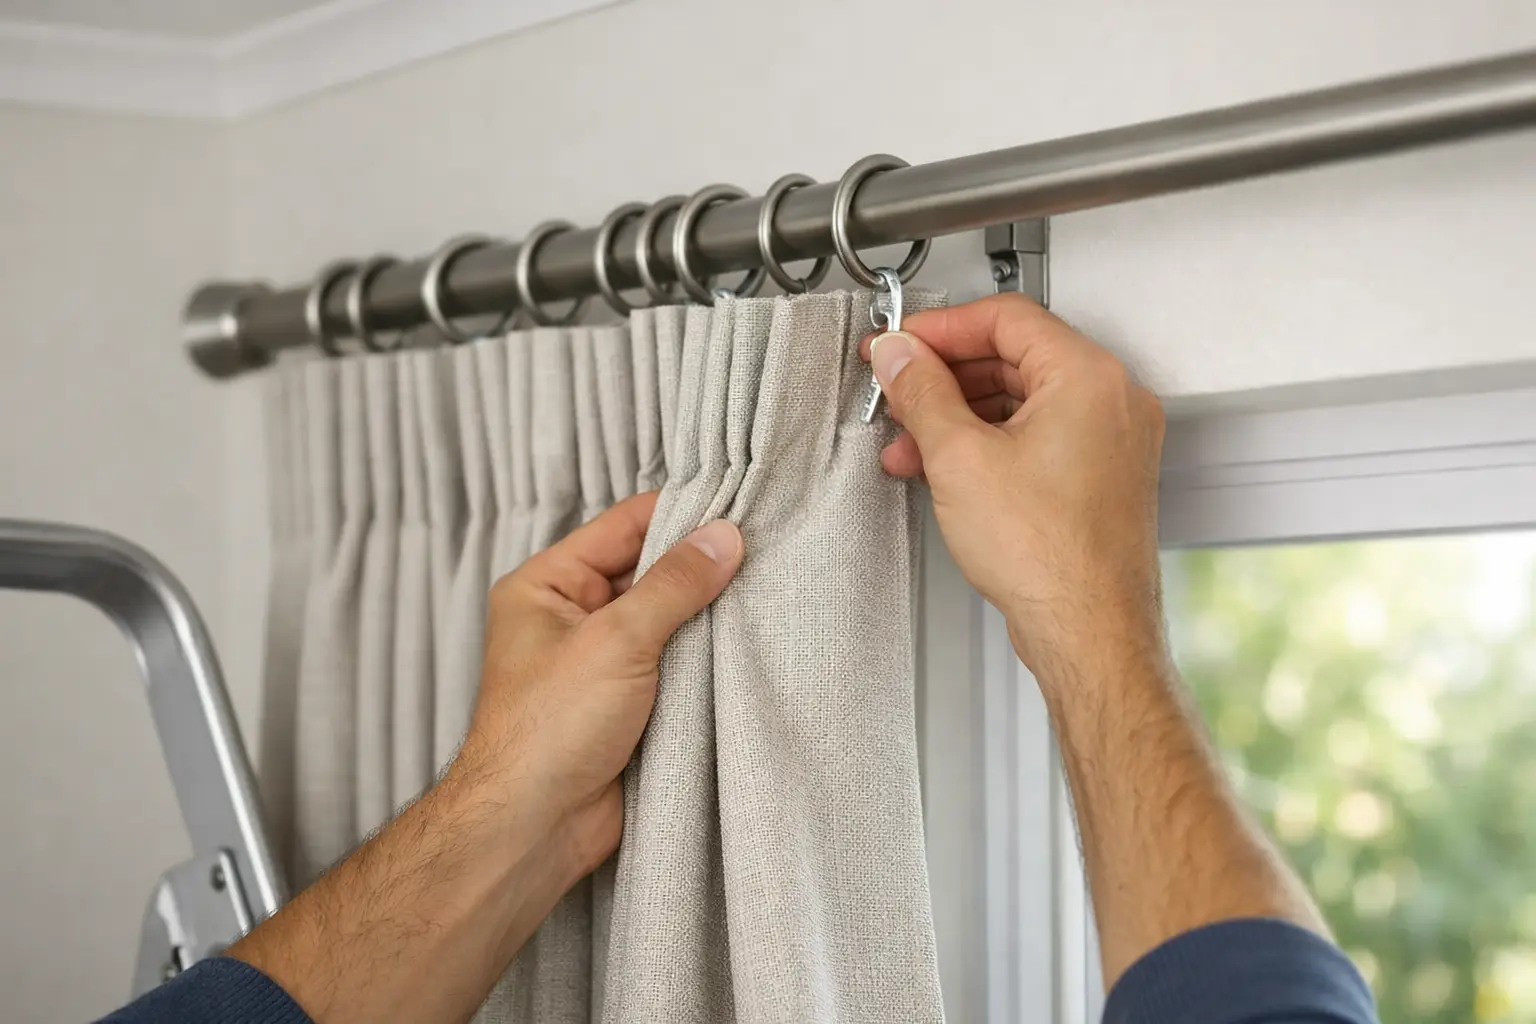
A beautiful pair of curtains can still look slightly off if they are not hung with care. That is often the difference between a room that feels finished and one that feels almost there. When clients ask us how to hang made to measure curtains, they are usually hoping for more than a basic how-to. They want the curtains to sit correctly, fall neatly and frame the window in a way that suits the room.
Made to measure curtains deserve a little more attention than ready-made pairs. They have been chosen for a particular window, fabric and heading style, so the hanging process matters. The right approach helps protect the shape of the fabric, improves how the curtains draw, and gives you that tailored look people often notice straight away.
Before you hang made to measure curtains
Start by checking that everything is ready before the curtains come out of their packaging. Your pole or track should already be securely fitted, level, and suitable for the weight of the curtains. This is especially important with interlined curtains or wider window treatments, as heavier fabrics need proper support.
It is also worth checking the drop. Made to measure curtains are produced to a specific finished length, whether that is just off the floor, lightly touching it, or pooling slightly. If the pole or track has been fitted higher or lower than planned, the finished look will change. A few millimetres may not sound like much, but on a carefully tailored curtain they can make a visible difference.
If your curtains have arrived folded, do not worry if they seem a little creased at first. Most fabrics settle once they are hung and dressed properly. Some heavier fabrics may need a little time to relax into their shape.
How to hang made to measure curtains step by step
The best method depends slightly on the heading style. A pencil pleat curtain is hung differently from an eyelet or wave curtain, and pinch pleat headings need careful placement to keep the pleats even.
Hanging pencil pleat curtains
With pencil pleat curtains, begin by gathering the heading tape to the correct width. This should match the track or pole measurement you were given when the curtains were made. Once gathered, tie the cords neatly rather than cutting them. Tuck the spare cord behind the heading tape so it stays hidden and can be adjusted later if needed.
Next, insert the hooks at even intervals across the heading tape. If the hooks are set at different heights, the top line of the curtain can look uneven once hung. Hook each one into the track gliders or pole rings, working from the outside towards the centre. It usually helps to fit the outer edge first so you can see how the curtain is sitting.
Hanging pinch pleat curtains
Pinch pleat curtains are more structured, so they tend to be simpler to hang but less forgiving if rushed. The hooks are usually already fitted into the back of each pleat. Attach these to the rings or track gliders one by one, checking that each pleat faces the same direction and sits evenly.
Because pinch pleats are designed to stack back in a particular way, spacing matters. If one pleat is twisted or one hook is missed, the curtain may not draw smoothly. Once both curtains are up, pull them closed and check the line along the bottom and leading edges.
Hanging eyelet curtains
Eyelet curtains are the most straightforward to put up, as the pole simply threads through the metal eyelets. Even so, there is still a right way to position them. Make sure the front edge returns under and around the pole at each end, as this helps the curtains frame the window properly.
Eyelet curtains naturally create soft, even folds, but they do need a little arranging by hand. Gently dress the fabric into an even wave all the way across before leaving them to settle.
Hanging wave curtains
Wave curtains rely on a specific track system, so they must be fitted in line with the spacing already built into the carrier set. Once attached, the curtain should form a regular ripple effect. If it does not, it is often down to the curtain not being fully connected at one point, or the track not being perfectly level.
Dressing the curtains properly
This is the step many people overlook, yet it makes a remarkable difference. Once the curtains are hung, do not simply leave them as they fall. Dress them by hand, shaping each fold so it sits evenly from top to bottom. This helps train the fabric into its intended lines.
For pleated curtains, gently guide the pleats into place and make sure the folds fall straight beneath them. For softer headings, create balanced waves across the width. If the curtains are new, loosely tying them in sections with soft fabric strips for a day or two can help the folds set more neatly. It is a traditional fitting trick, and still a useful one.
Take care not to tie them too tightly, especially with delicate fabrics, as this can leave marks or flatten the shape. The aim is to encourage the drape, not force it.
Getting the height and finish right
One of the most common concerns when learning how to hang made to measure curtains is floor clearance. Should they float, break, or puddle? The answer depends on the style of the room, the fabric, and how practical the space needs to be.
A curtain that sits about 1cm above the floor gives a clean, tailored finish and is often a sensible choice in busy family rooms. A gentle break, where the fabric just touches the floor, feels softer and slightly more classic. Pooling can look luxurious in formal rooms or bedrooms, but it is less practical where curtains are opened and closed often.
If the curtains seem too long or too short once hung, stop and check the obvious things first. Is the pole at the planned height? Are the hooks inserted at the same level? Has the track been fixed evenly? Small fitting issues are often the cause, rather than the curtain itself.
Common mistakes when hanging made to measure curtains
The biggest mistake is assuming bespoke curtains will hang perfectly with no adjustment at all. Even expertly made curtains need dressing once they are up. Fabric has weight, lining has structure, and every room behaves a little differently depending on heat, light and humidity.
Another common issue is using a pole or track that is too weak for the curtain weight. This can lead to sagging in the middle, difficult movement, and strain on the brackets over time. Heavier curtains need stronger hardware and, in some cases, more support points.
People also sometimes fit the brackets too close to the window reveal. That can stop the curtains stacking back properly and block more light than necessary. A made to measure curtain should frame the window, not crowd it.
Then there is the temptation to rush. Hanging curtains is one of the final stages of a room scheme, so it is understandable to want the job finished. But taking an extra fifteen minutes to straighten the headings, dress the folds and check the hemline is usually what creates the polished result.
When professional fitting makes sense
There are some situations where professional fitting is worth every penny. Bay windows, extra-wide tracks, interlined curtains, tall stair windows and formal swags or dress curtains all need a more experienced hand. So do rooms where absolute symmetry matters, such as principal bedrooms or large living spaces.
Professional fitters do more than put curtains up. They check levels, make sure the hardware is right for the wall type, adjust headings correctly and dress the finished curtains so they settle well from the start. That reassurance is often as valuable as the fitting itself, particularly when you have invested in beautiful fabrics and hand-finished details.
At Country Interiors, that is often where clients feel the difference in a full service. The measuring, making and fitting all work together, which removes the guesswork and helps ensure the finished curtains look as they were intended to look.
A room always notices the finishing touches
Knowing how to hang made to measure curtains is really about respecting the craftsmanship behind them. When they are fitted carefully, supported properly and dressed by hand, they bring softness, structure and quiet confidence to a room. And if you take your time at this stage, the whole space tends to feel more settled, more polished and more like home.